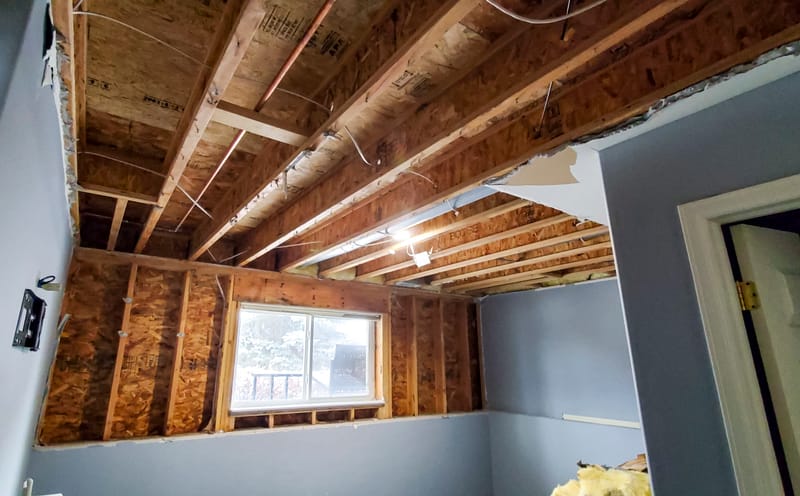
INTERIOR DEMOLITION

Interior demolition involves the systematic removal of non-structural elements within a building, such as walls, ceilings, floors, and fixtures, to prepare for renovation or reconstruction. Here’s a comprehensive guide on how to approach interior demolition:
1. Planning and Preparation
- Permits and Regulations: Check local building codes and obtain any necessary permits before beginning demolition. Regulations vary by location and may include safety standards, disposal requirements, and notification procedures.
- Assessment: Conduct a thorough assessment of the area to be demolished. Identify structural elements, hazardous materials (like asbestos or lead), and utilities.
- Safety Plan: Develop a safety plan, including the use of personal protective equipment (PPE), and establish procedures for handling hazardous materials and debris.
2. Safety Precautions
- Protective Gear: Wear appropriate PPE, including hard hats, safety glasses, gloves, and dust masks or respirators.
- Area Isolation: Seal off the demolition area with plastic sheeting or barriers to contain dust and debris. Ensure that the area is well-ventilated.
- Utilities: Shut off and disconnect utilities (electricity, water, gas) in the demolition area to prevent accidents.
3. Demolition Process
- Remove Fixtures: Start by removing fixtures such as cabinets, lighting, and appliances. Use tools like screwdrivers and wrenches for disassembly.
- Wall Removal: For non-load-bearing walls, remove drywall or paneling using tools like pry bars and reciprocating saws. Be cautious of electrical wiring and plumbing behind walls.
- Ceiling and Floor Removal: Remove ceiling tiles or panels, and then dismantle flooring materials such as carpet, tile, or laminate. Use tools like crowbars, tile scrapers, or floor strippers.
- Debris Management: Collect and dispose of debris properly. Separate recyclable materials (like metal or wood) from general waste. Use dumpsters or debris containers for efficient disposal.
4. Handling Hazardous Materials
- Asbestos and Lead: If hazardous materials like asbestos or lead are present, follow proper procedures for removal and disposal. This often requires specialized training and equipment.
- Containment: Use containment methods to prevent the spread of hazardous dust or particles.
5. Clean-Up and Site Preparation
- Debris Removal: Clear the area of all debris and ensure that it is disposed of according to local regulations.
- Surface Preparation: Clean and prepare surfaces for the next phase of renovation or construction. This may include patching holes, sanding, or removing residual materials.
6. Inspection and Final Steps
- Inspect the Area: Conduct a final inspection to ensure that all demolition work is complete and that the site is safe for the next phase of construction or renovation.
- Documentation: Keep records of the demolition process, including permits, safety plans, and waste disposal receipts.
Tools and Equipment
- Hand Tools: Hammers, pry bars, screwdrivers, and wrenches for dismantling fixtures and fittings.
- Power Tools: Reciprocating saws, circular saws, and drills for cutting through materials.
- Heavy Equipment: For larger projects, consider using equipment like sledgehammers, jackhammers, or excavators.
- Safety Gear: Hard hats, safety glasses, gloves, dust masks, and hearing protection.
Professional Services
- Demolition Contractors: For large-scale or complex demolition projects, hiring a professional demolition contractor may be necessary. They have the expertise, equipment, and safety protocols required for efficient and safe demolition.
- Specialized Services: For hazardous material removal or large-scale projects, consider specialized services that comply with safety and environmental regulations.
If you have any specific questions about the demolition process or need guidance on a particular aspect of your project, feel free to ask!